The final part of the series. the H-Bridge is etched and populated with parts. There’s nothing to say much about this so I guess here are some photos:
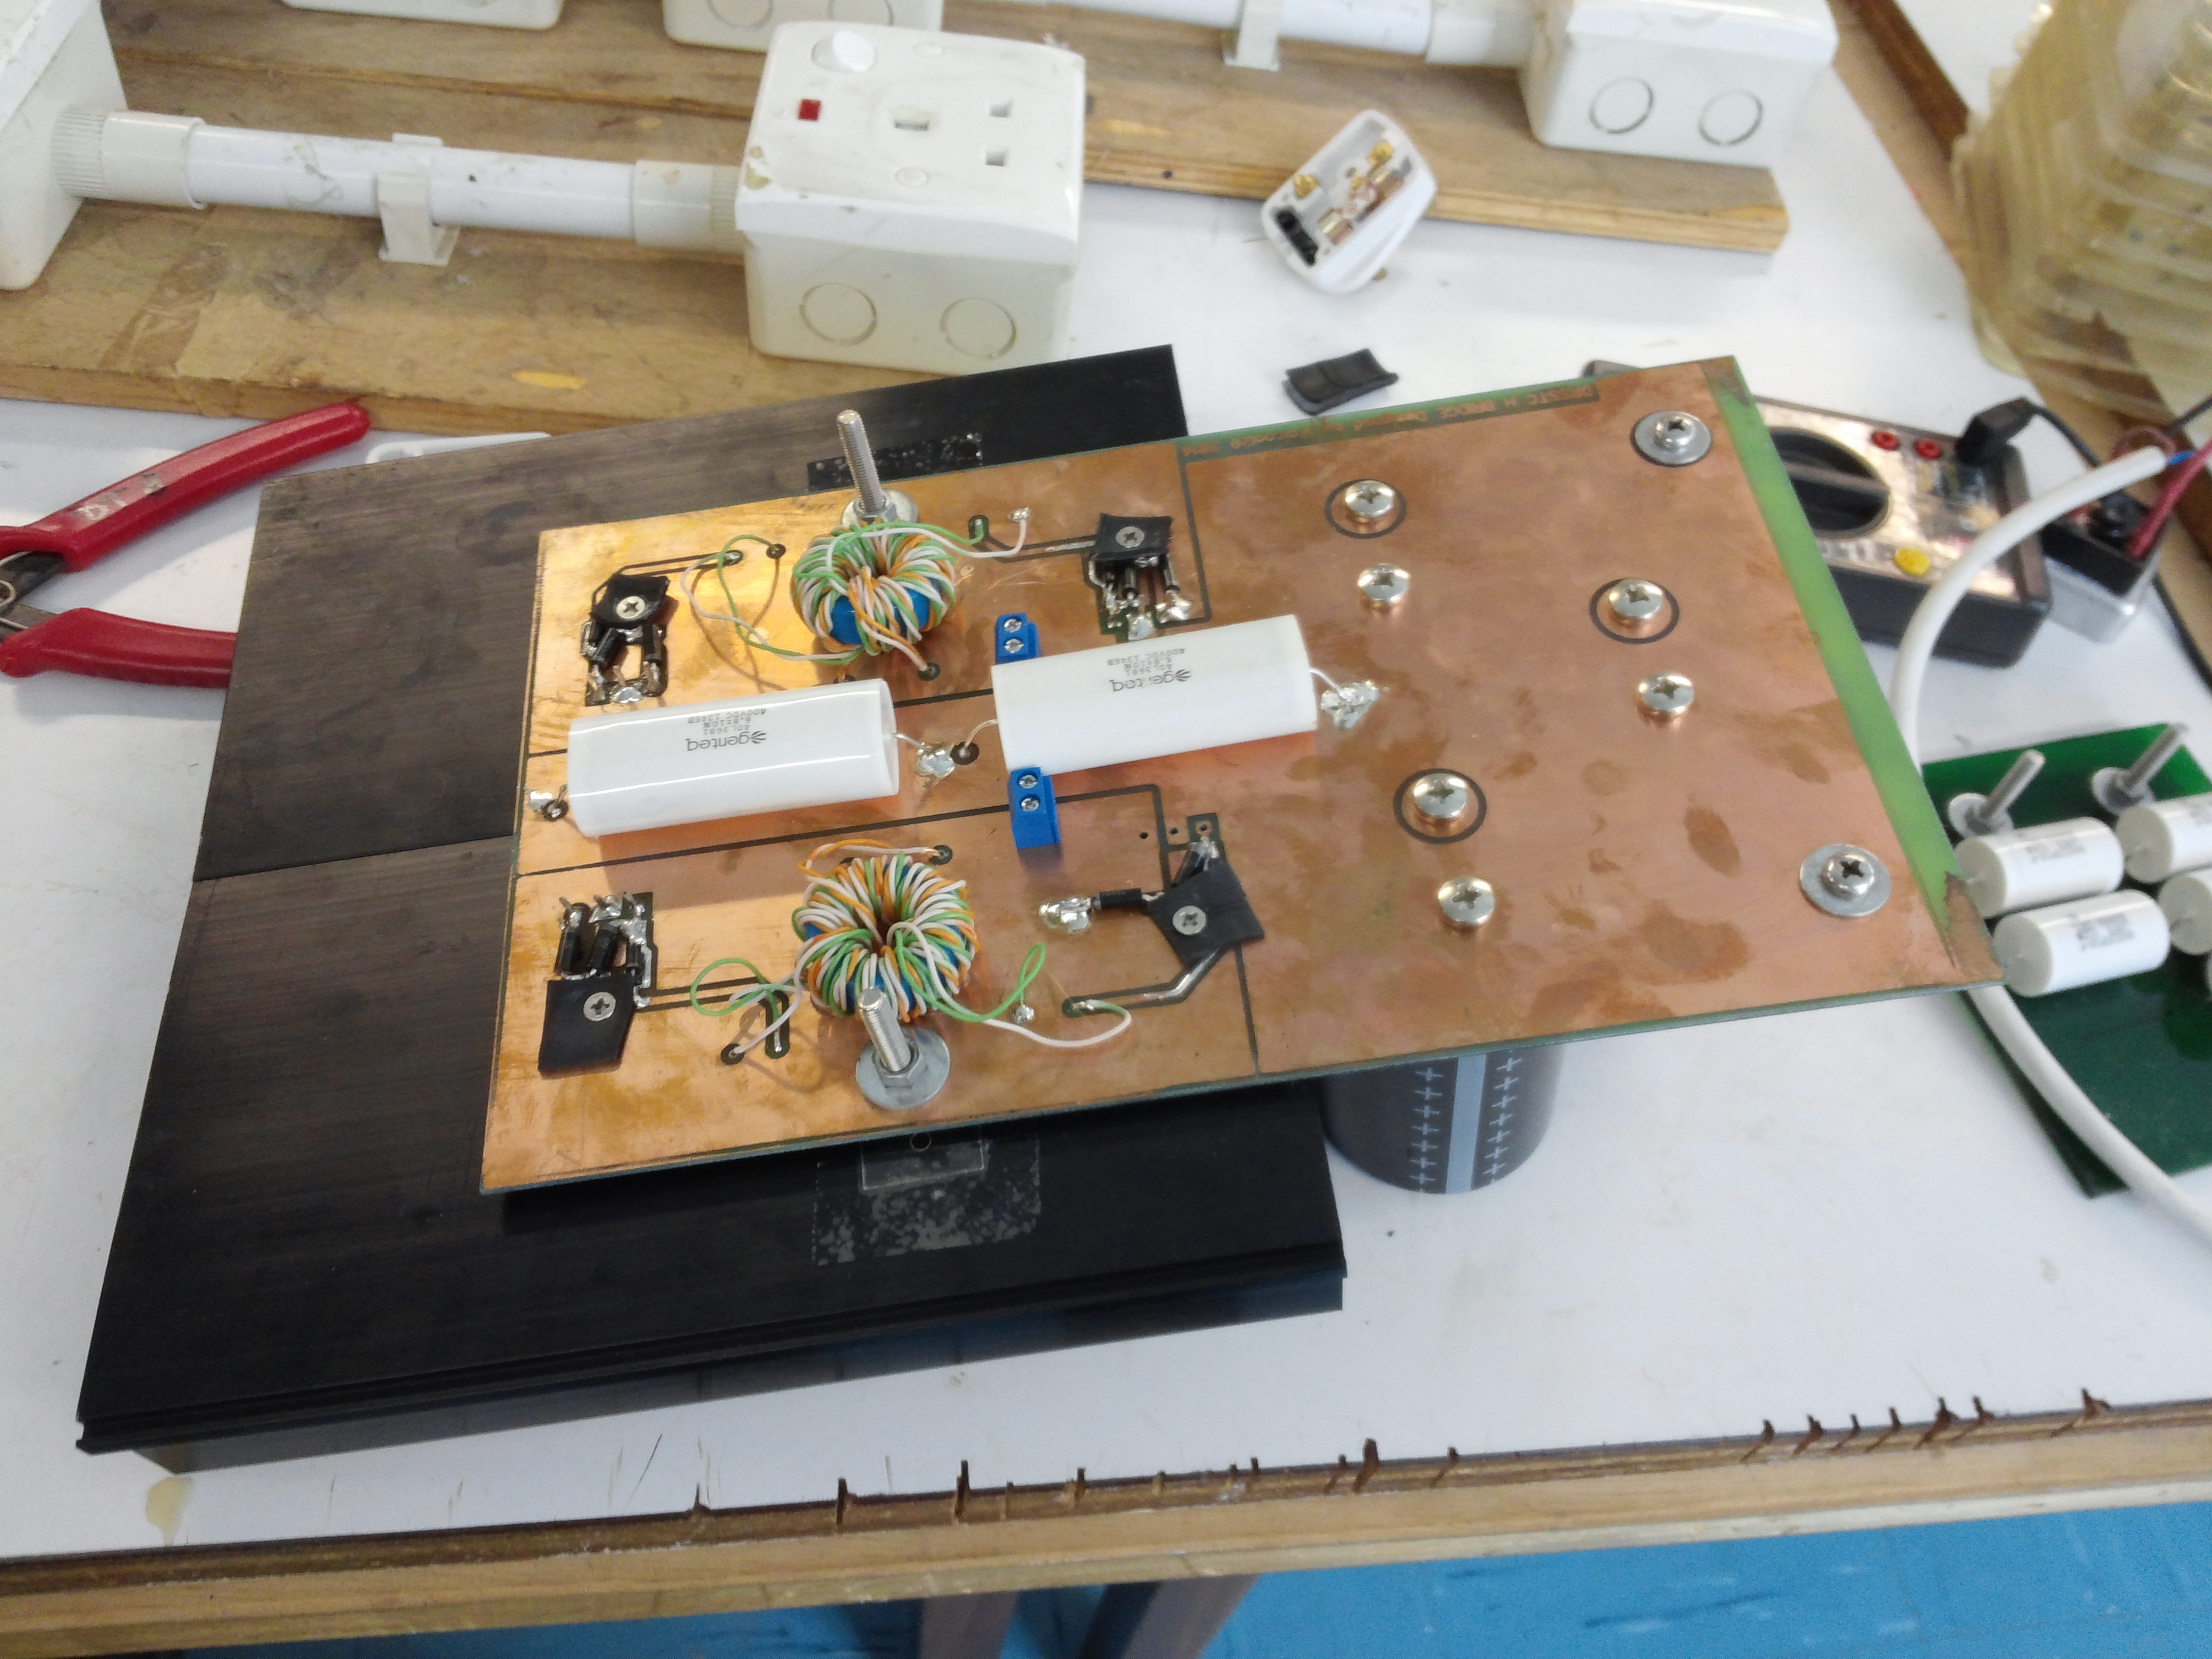
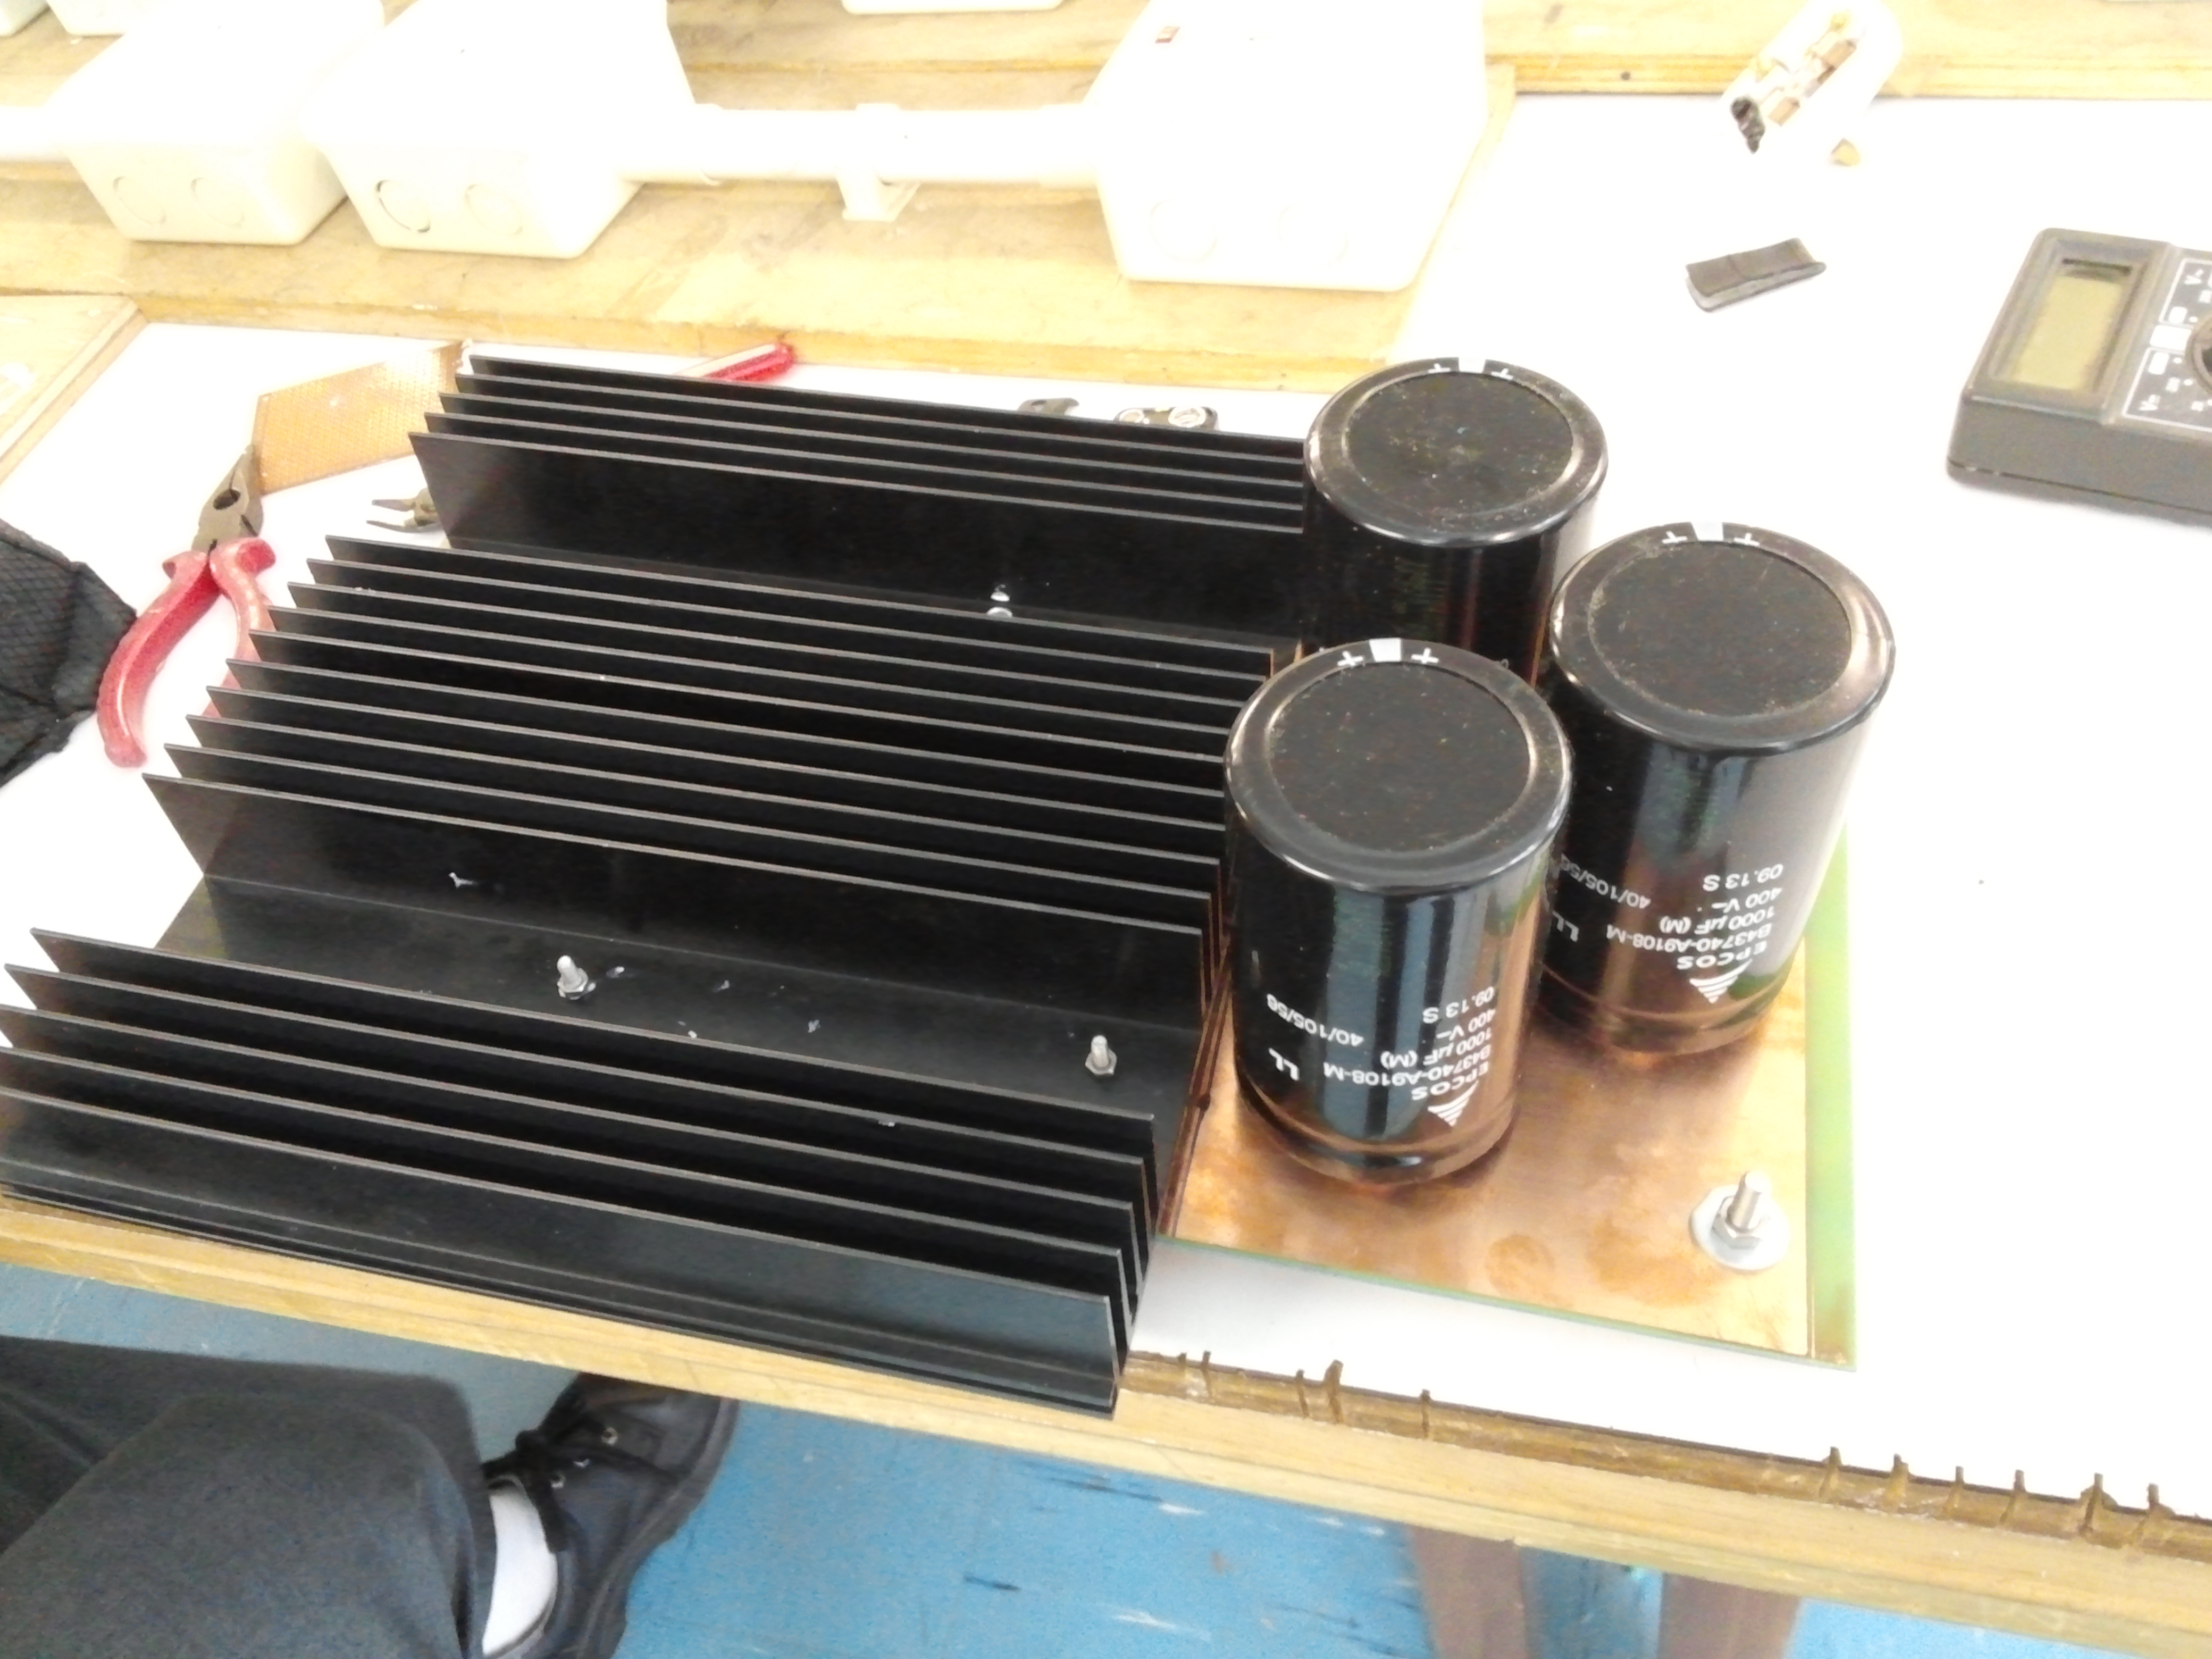
Just used the soldering iron and soldered everything on the board, simple. I like the results it looks kind of professional at least in my perspective, anyways that’s the end for this series and we will be back with the bridge installed in the tesla coil 😉
Havn’t read Part 2? Read it here!