We are back with some PCB making! Last time we were prepping the board so I will be exposing the board this time.
Exposing
So I had my H-Bridge design printed out on transparencies using the highest DPI settings. I used a inkjet printer to do this, actually it does not really matter what kind of printer you use, just make sure it doesn’t leave small holes in your artwork.
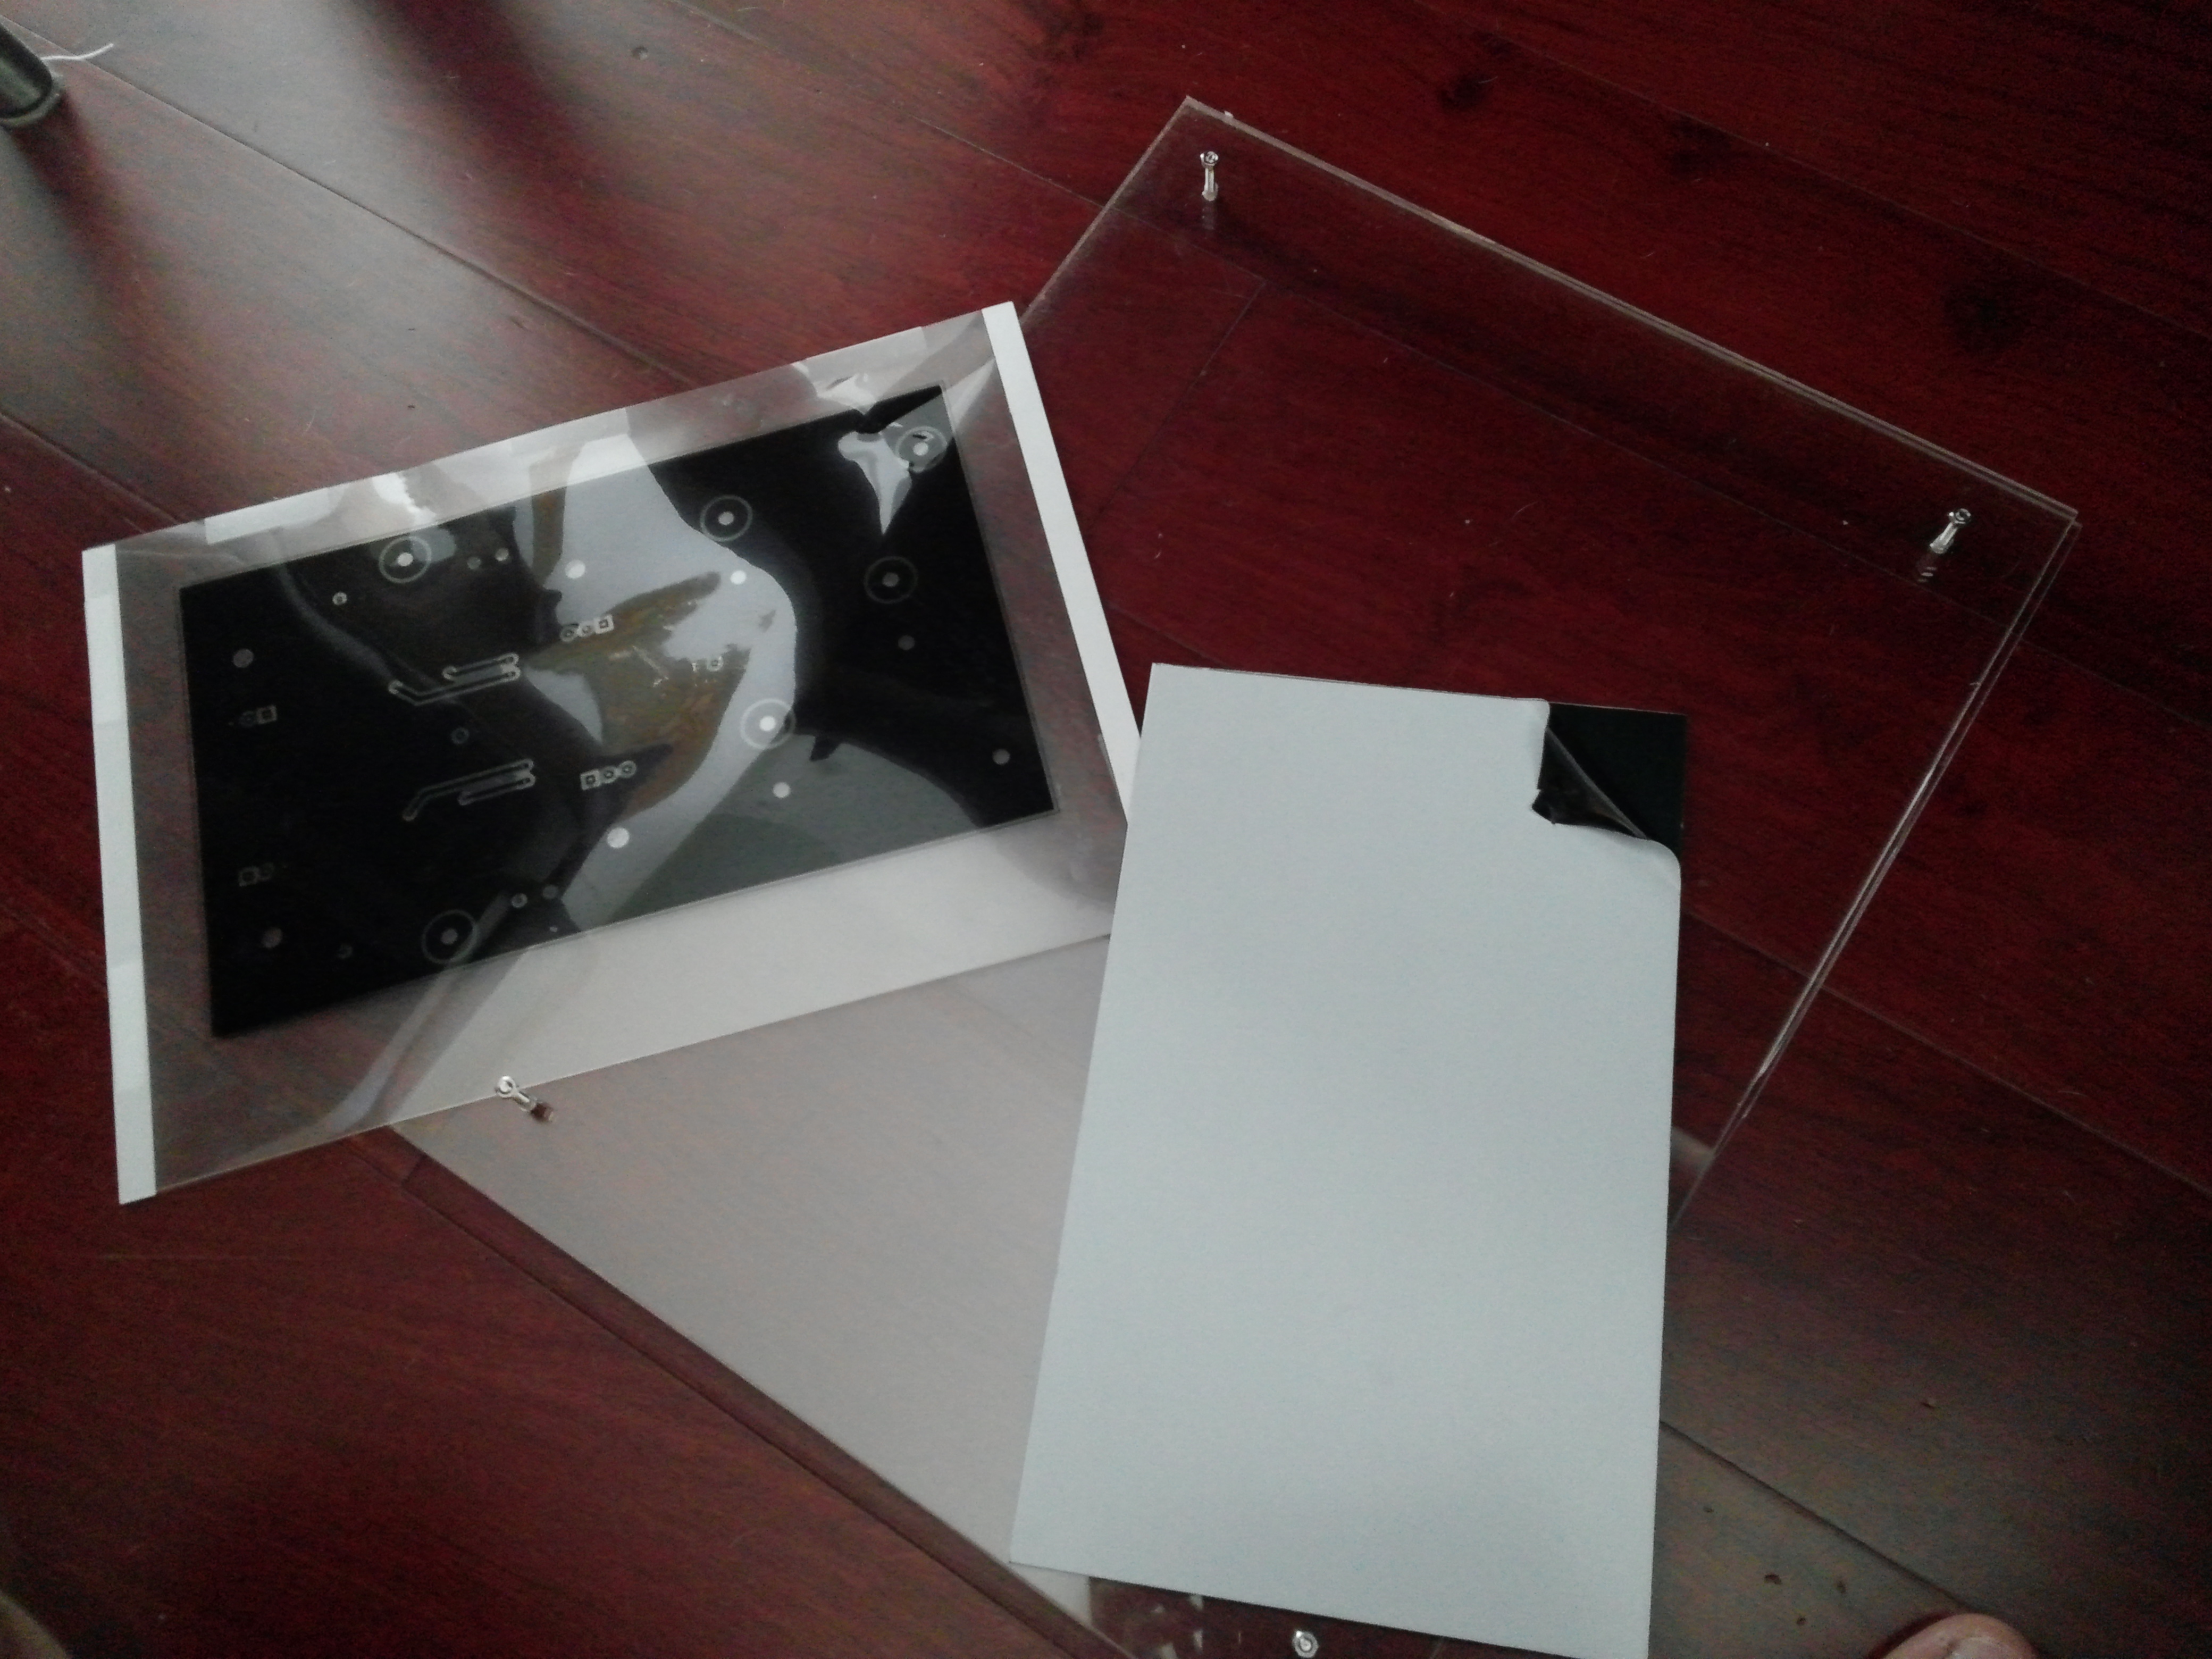
As you can see I have a jig to help me hold the transparencies and the board in place, sadly this lead to my demise when I switched from glass to acrylic material so I had to readjust my exposure time. So after aligning the artwork and putting it in the jig, I exposed the board.
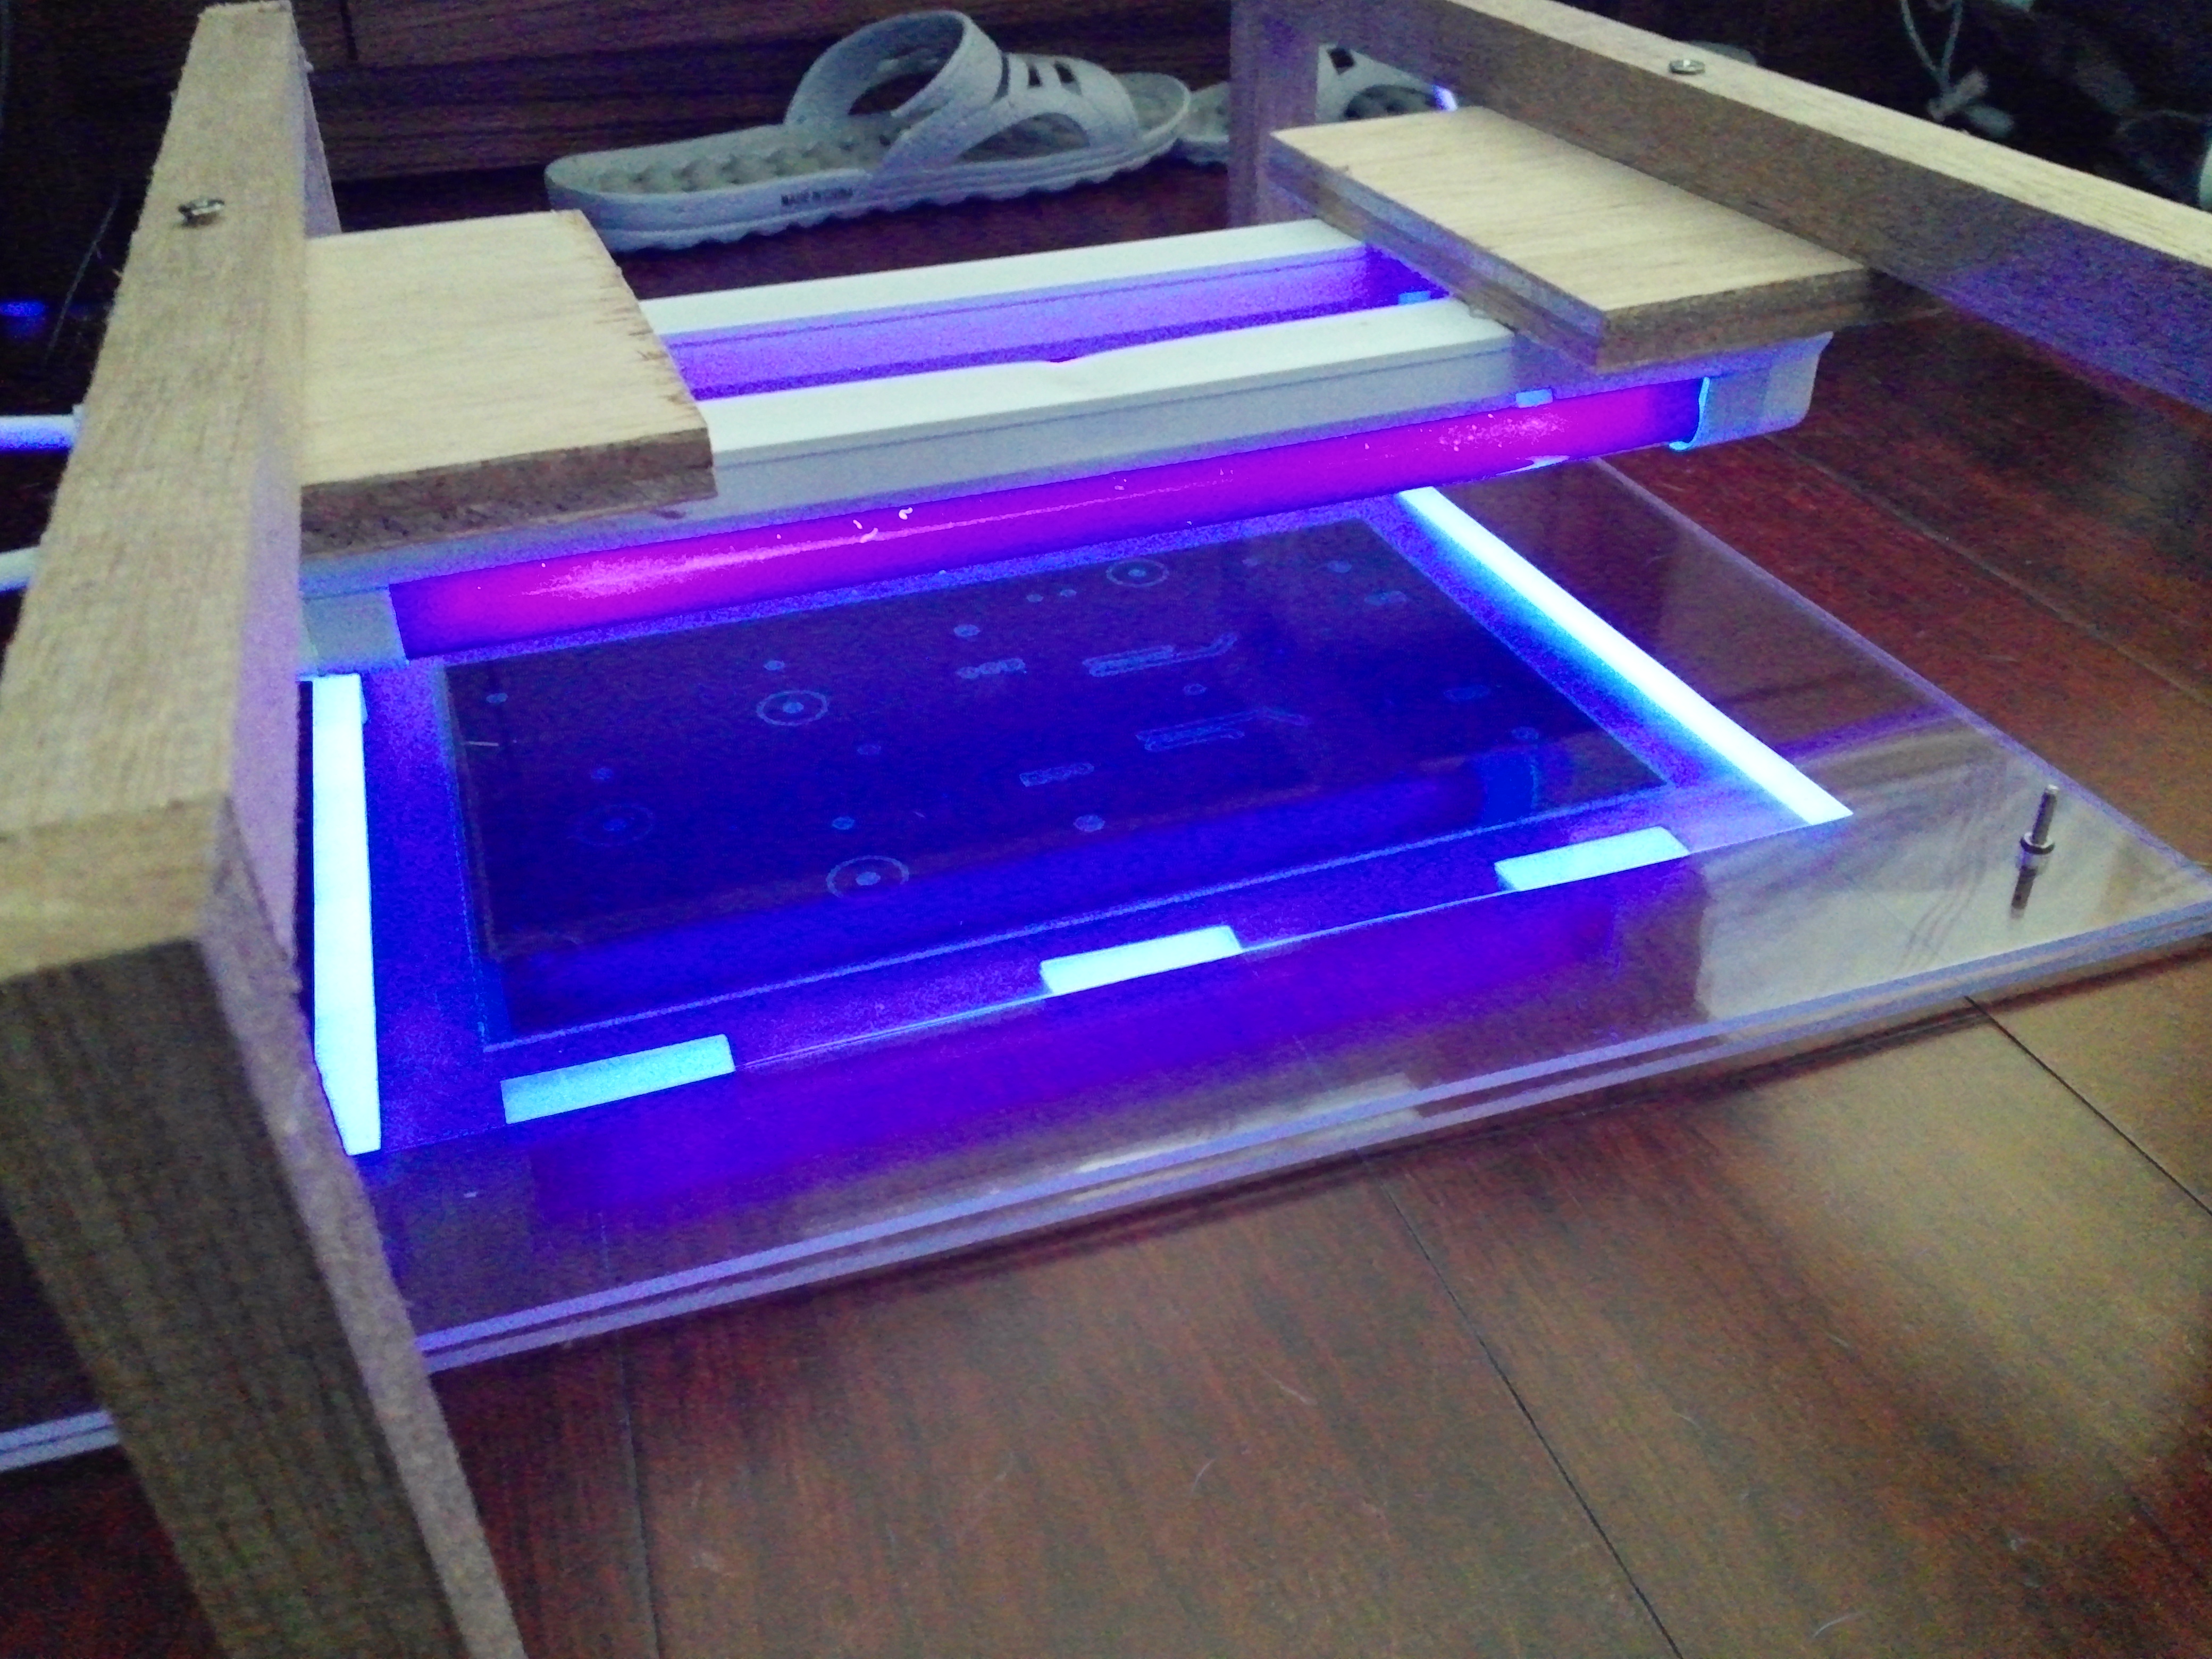
Once again I made a makeshift jig to aid me in my exposures, those are just normal black light lamps, they expose finely in most cases. So after around 6 minutes I flipped the board to expose the other side.
Developing
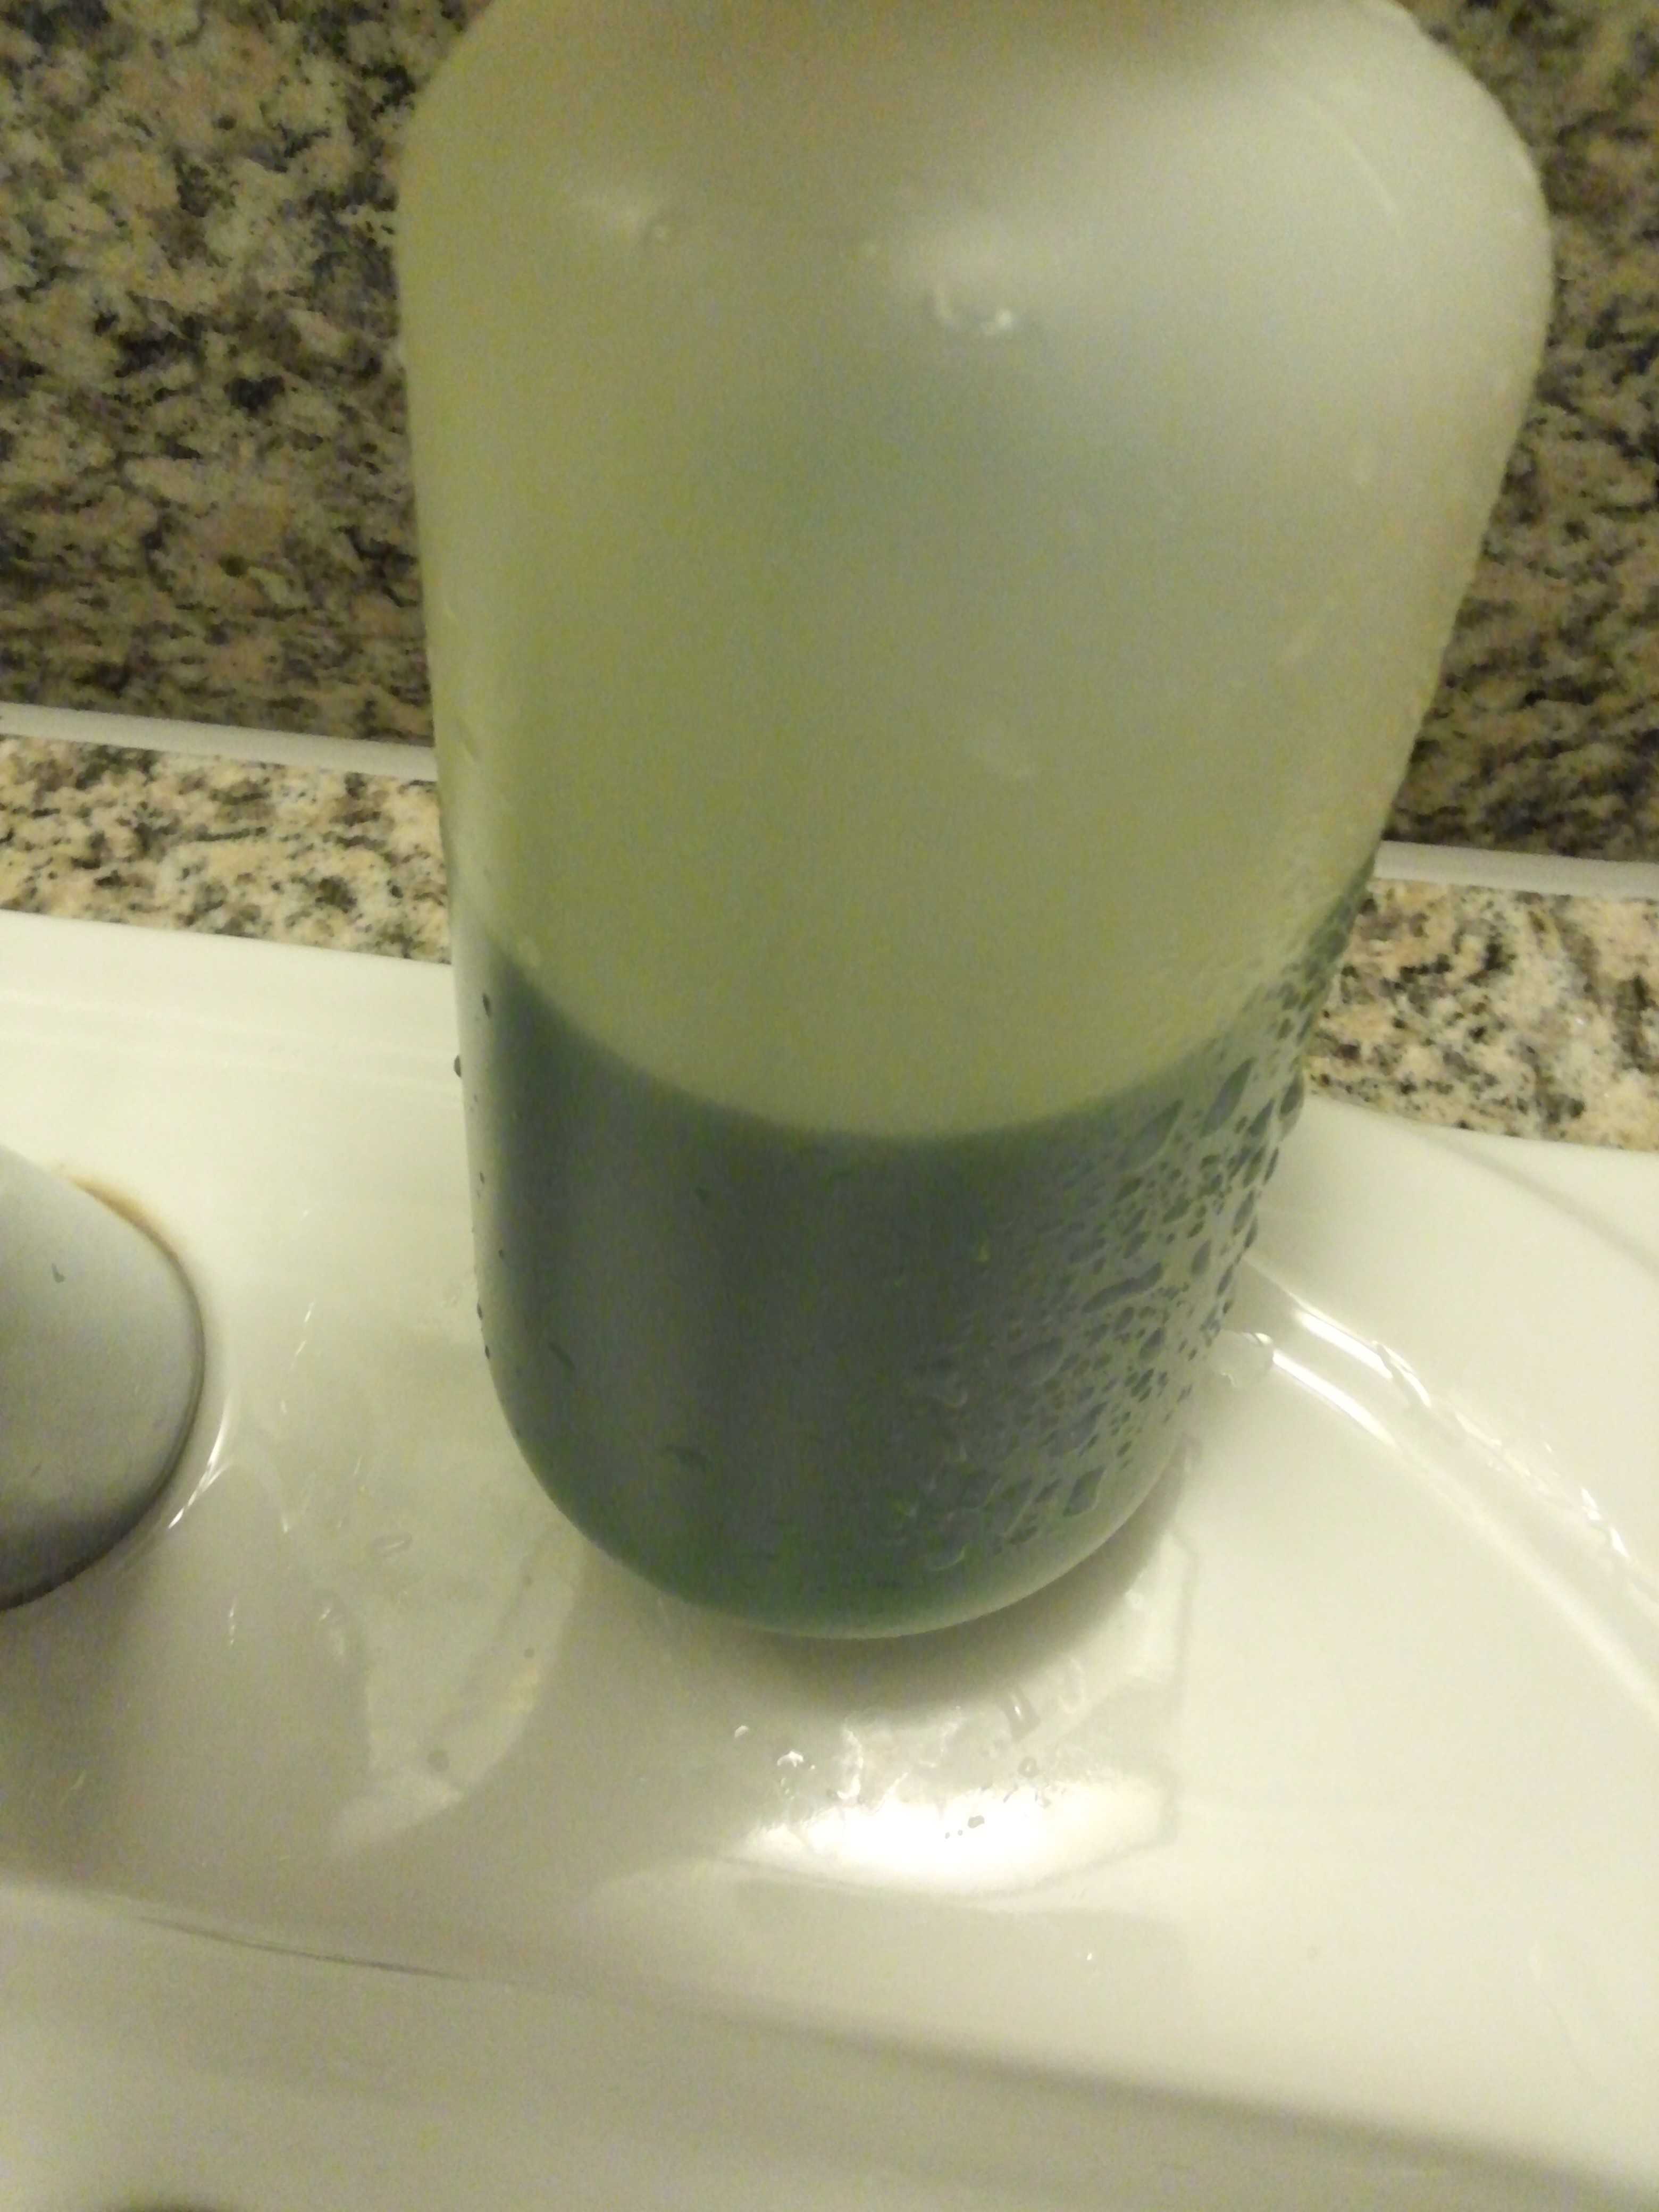
Now we move on to developing, I did this by mixing a capful of NaOH ( Sodium Hydroxide or everyday drain cleaner ) with about 1.5 L of water, caution this stuff is caustic so it may cause corrosion and harm if it comes into contact though it didn’t really bother me 😀 The board took about 8 minutes to develop properly.
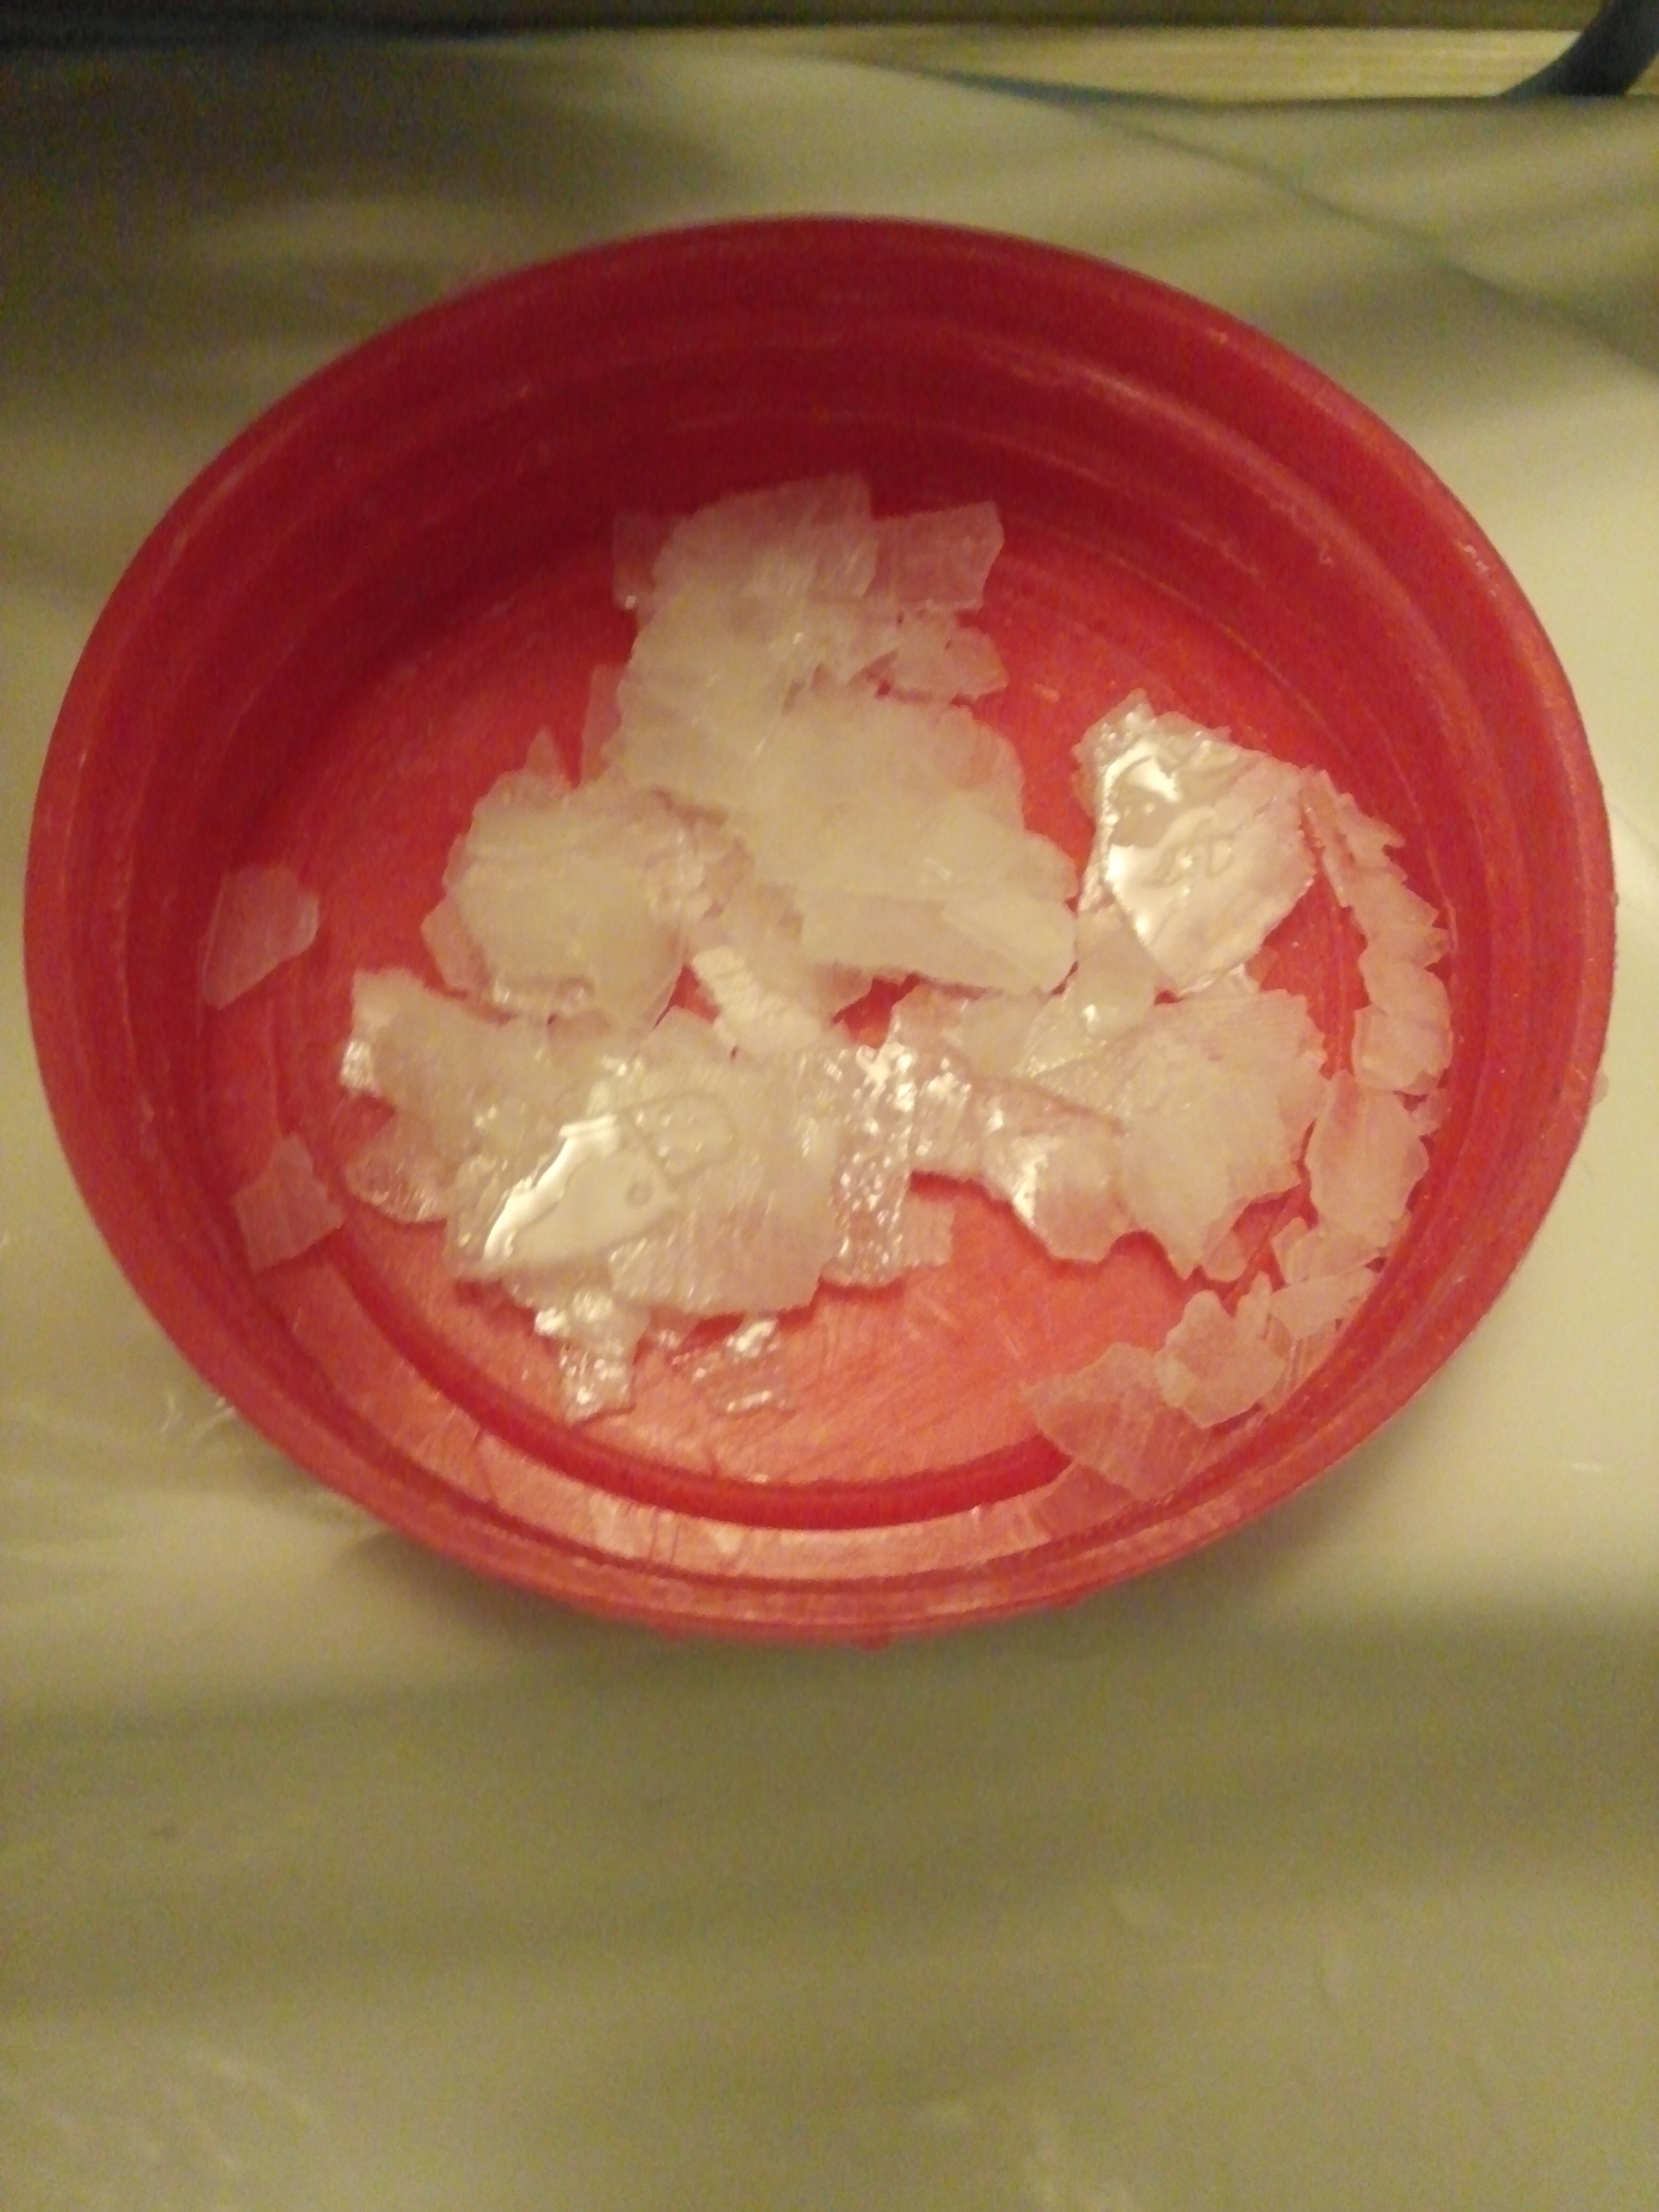
Though after research some people say the optimal concentration is achieved by mixing 7g with 1L water, alternatively you can use sodium silicate which is much more superior and gives better results sadly it is relatively more expensive.
Etching
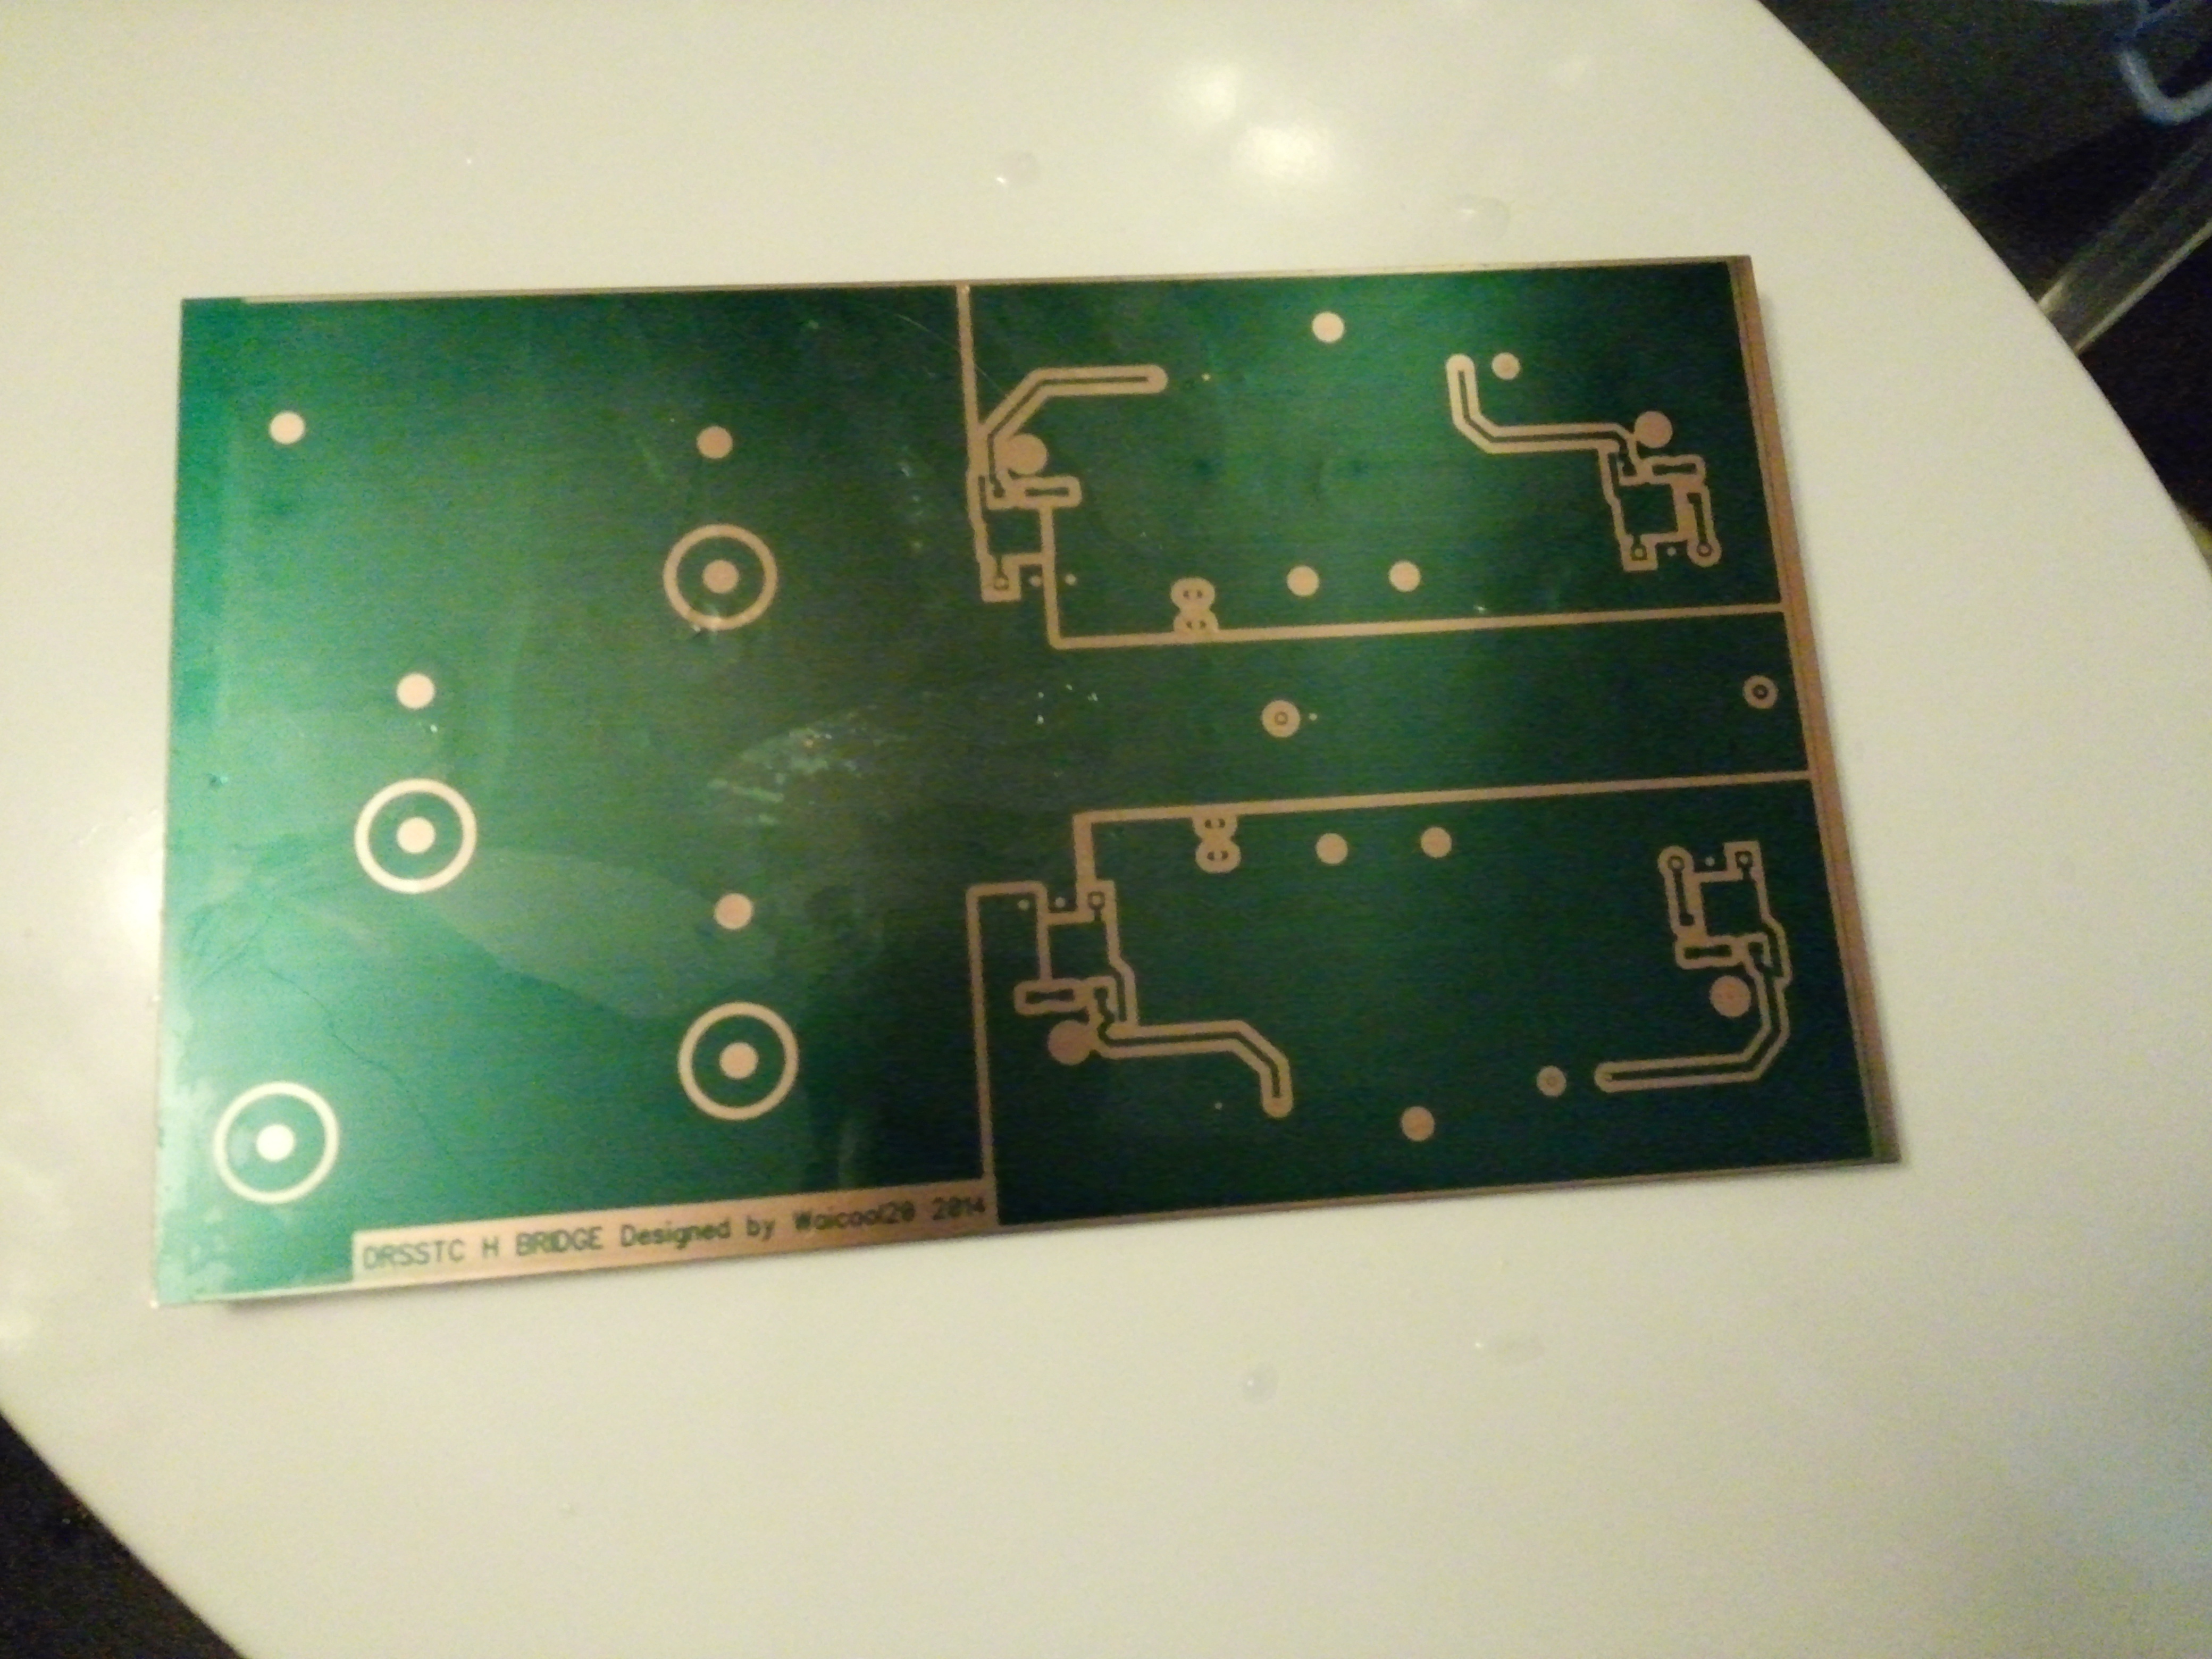
Time to etch, you can use your preferred etching solution ( FeCl2 , (NH4)2SO4 etc) but I used the HCl and H2O2 combo since I got the H2O2 really cheap 1L 50% concentration.
My solution was already green because I had etched several boards before, during etching this stuff becomes darker and darker as the solution is reduced and the copper board is oxidized. To fix this we just add a bit of H2O2 or bubble air into the solution and magically it becomes lighter green again and it starts etching again. So after about 20 minutes of etching it was finally finished, I chose to keep the photo resist to prevent oxidization. You can choose to tin the board but I didn’t. Sadly I didn’t take a photo of the etched board all I can show you is a populated board next time.
Stay tuned for part 3! Read Part 3 here!
Havn’t read part 1? Read it here.
2 thoughts to “Making of the DRSSTC H-Bridge: Part 2”